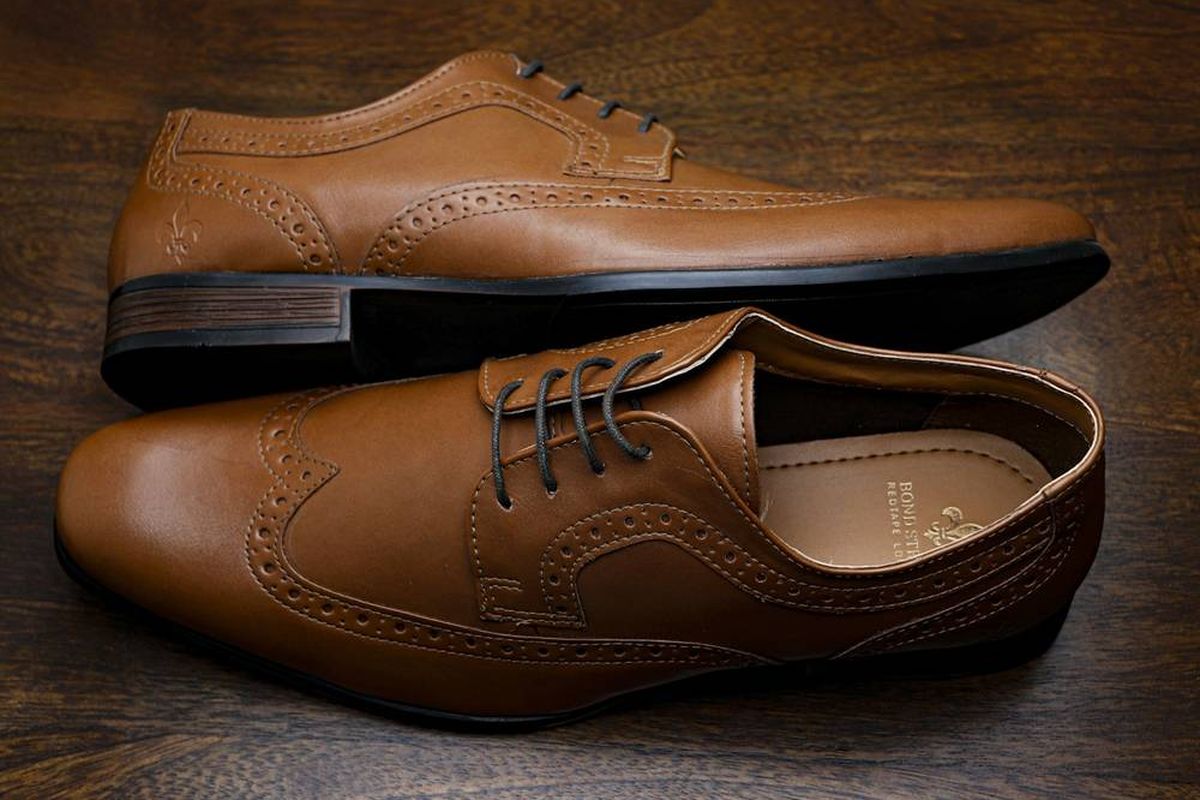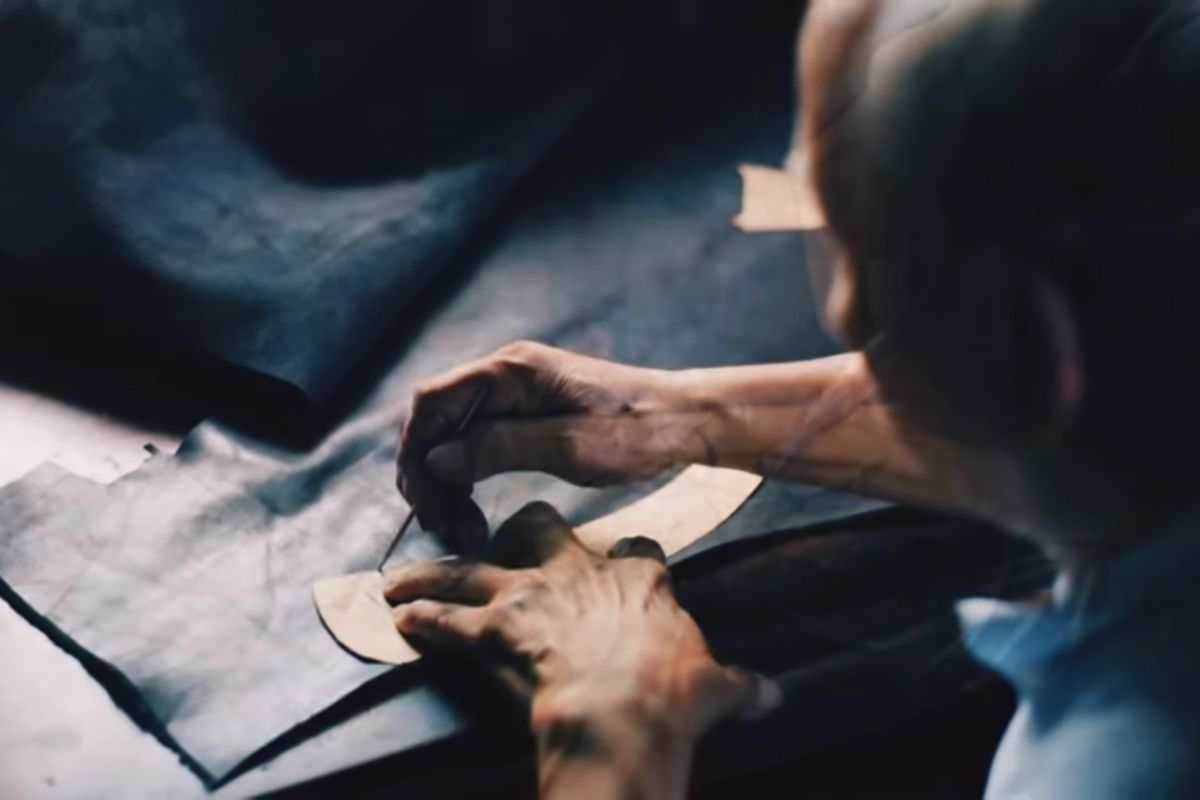
Pick up a leather shoe and look closely. You'll see stitching lines, a curved heel counter, a sole that meets the upper cleanly, and a shape that follows the foot. A good shoe can contain dozens of separate parts and pass through many pairs of hands before it reaches you. Knowing how shoes are made makes you a better buyer, and if you're a brand or retailer thinking about producing your own line, it's essential background.
This article walks through footwear manufacturing step by step, from the first sketch to the finished box. We explain what happens at each stage, what separates careful work from shortcuts, how small-batch production differs from mass production, and why manufacturing locally in Mauritius has real advantages for customers and businesses.
Step 1: Design and sketch
Every shoe starts as an idea: a customer need, a trend, or a gap in a range. A designer turns it into sketches showing the silhouette, the toe shape, the heel height, where the seams will run and what decoration goes on it. Early decisions carry a long way. A seam placed across the flex point of the foot can crack, and a heel that is too high for the intended wearer ends up unworn.
At this stage the designer also writes a basic specification: the target customer, price level, materials, colours, size range and construction method. For a formal men's shoe this might read "black calf Oxford, cap toe, leather lining, stitched sole, sizes 39–46". For a women's sandal it could be "block heel 5 cm, padded footbed, adjustable ankle strap, sizes 35–42". A clear specification prevents costly changes later.
Step 2: The last, the foundation of fit
A last is a solid form, traditionally carved from wood and today usually made from high-density plastic, that the shoe is built around. It isn't a copy of a foot. It's a carefully engineered shape that sets the shoe's length, width, toe spring (the upward curve of the toe), heel pitch, instep volume and overall look.
The last decides how a shoe fits more than any other part. Two shoes labelled with the same size can feel completely different because they were made on different lasts. That's why a wide-fitting Derby and a slim Italian-style loafer need separate lasts, and why many brands keep a proven last for years and build several styles on it. It's also why sizing guidance matters so much. Our guide to choosing the right shoe size explains how to measure yourself so you can make sense of these differences.
A full size run needs a pair of lasts for every size, and for bespoke work a last may be adjusted or built to one person's measurements.
Step 3: Pattern making
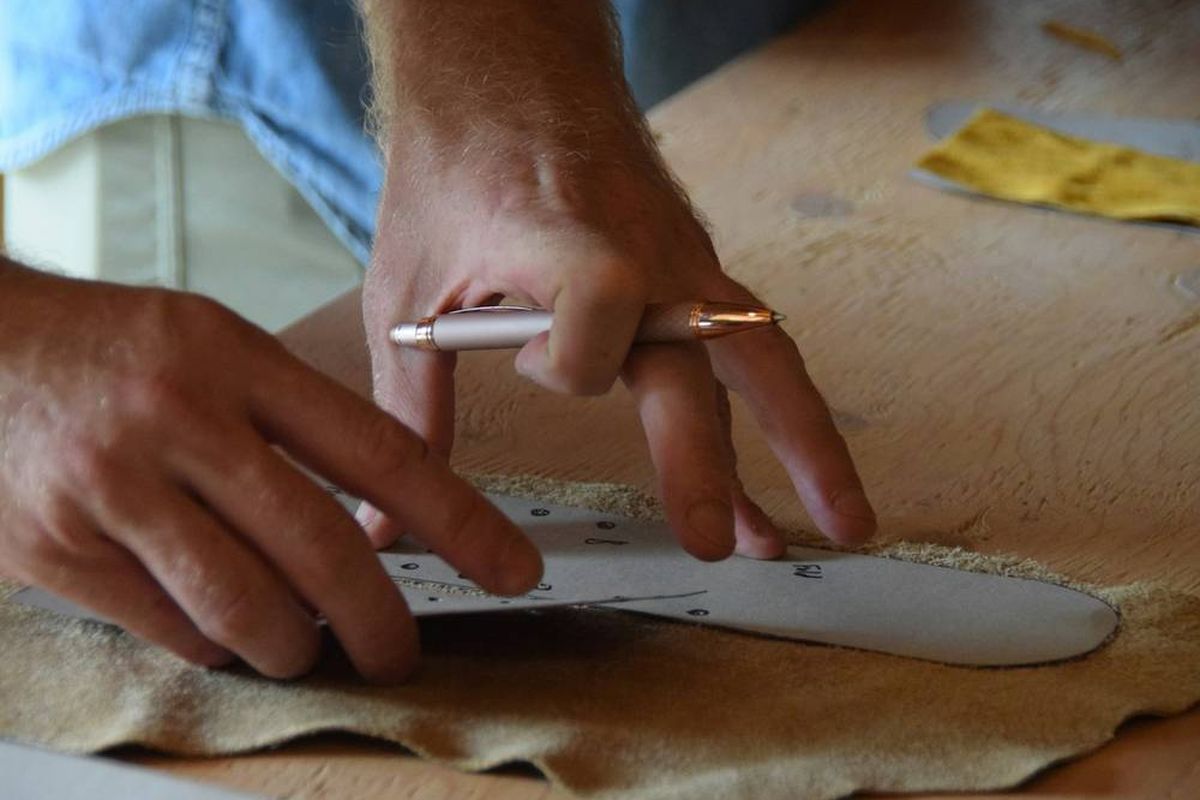
With the last chosen, the pattern maker works out how to turn a three-dimensional shape into flat pieces. A common method is to cover the last in masking tape, draw the design lines onto it, peel the tape off and flatten it into a "standard" or master pattern. From that, individual pattern pieces are drawn for each component: vamp, quarters, toe cap, tongue, counter, lining pieces and reinforcements, with allowances for seams, folding and lasting.
The patterns are then graded, meaning scaled up and down for each size. Grading is a skilled job because feet don't grow in simple proportion: length, width and girth change at different rates. Today much pattern work is done with CAD software, but the principles haven't changed. A sample pair is made next, usually in a middle size, then tried on, walked in and adjusted. Several sample rounds are normal before a style is approved for production.
Step 4: Material selection
Materials determine how a shoe looks, feels, breathes, ages and costs. Most shoes combine several types.
Leather grades
- Full-grain leather: the top layer of the hide with the natural grain intact. It's the strongest and most breathable, and it develops a patina with age. Used for quality formal shoes and boots.
- Top-grain / corrected-grain leather: the surface is lightly sanded and finished to hide blemishes. It's more uniform and often more affordable, but less breathable.
- Suede and nubuck: suede comes from the flesh side of a split hide, nubuck from the buffed grain side. Both are soft and velvety and need more care in rain.
- Split leather: the lower layers of a hide, often coated. It's economical and suits certain components and budget styles.
- Patent leather: leather with a high-gloss coating, used for eveningwear and dressy women's shoes.
Synthetics and textiles
Synthetic uppers (PU, microfibre) and textiles are lighter, easier to clean and often cheaper. They're also useful where leather isn't ideal, such as vegan ranges, water-exposed sandals or very bright colours. Quality varies a lot: good microfibre can breathe and wear well, while cheap PU can crack and trap heat. In a humid climate, breathability matters a great deal.
Linings, insoles and soles
Linings (leather, textile or synthetic) affect comfort and moisture handling. Insoles may be leather, leatherboard or cellulose board, with foam or latex cushioning added. Outsoles come in several materials:
| Sole material | Typical use | Pros | Cons |
|---|---|---|---|
| Leather | Formal shoes | Elegant, breathable, resoleable | Slippery when wet, wears faster on rough ground |
| Rubber | Casual, work and all-weather shoes | Grip, water resistance, durability | Heavier, less formal look |
| TPR (thermoplastic rubber) | Casual shoes, sandals, school shoes | Affordable, good grip, easy to mould | Can harden over time |
| EVA foam | Sandals, comfort and sports shoes | Very light and cushioned | Compresses with long use |
| PU (polyurethane) | Work shoes, comfort shoes | Light, cushioned, hard-wearing | Can degrade in extreme humidity over years |
Steps 5–7: Clicking, skiving and closing
Clicking (cutting)
Cutting the upper pieces is traditionally called clicking, after the sound of the knife as it came off the metal-edged pattern. A skilled clicker reads each hide: the backbone area is firmest and goes into vamps, softer belly areas go into less stressed parts, and scars or insect bites are avoided or placed where they won't show. Pieces for a pair are cut so they match in grain and colour. In larger factories, press knives (steel dies) or computer-controlled cutters speed up the work, but choosing where to cut still takes judgement.
Skiving
Skiving thins the edges of leather pieces so they overlap smoothly without bulky ridges. Seams become flatter, folded edges look neater and the shoe is more comfortable because there are fewer thick spots pressing on the foot. It's a small step that makes a big difference to quality.
Closing (stitching the upper)
Closing is assembling the upper: stitching vamps to quarters, adding toe caps and counters, attaching linings, punching broguing, inserting eyelets and adding decorative stitching. Closers work on specialised sewing machines, often post-bed machines that can reach into curved three-dimensional shapes. Stitch density, straight lines and consistent edge margins are all signs of careful closing.
Steps 8–9: Lasting and sole attachment
Lasting
Here the shoe gets its final shape. The insole is fixed temporarily to the bottom of the last, stiffeners (the toe puff and heel counter) are placed, and the upper is pulled tightly over the last and fastened underneath, by hand with pincers and tacks or with lasting machines for the toe, sides and seat. Tension has to be even. Too loose and the shoe wrinkles, too tight and it distorts. Many makers then leave the shoe on the last for a while, sometimes with heat, so the leather "remembers" the shape.
Sole attachment methods
Next the sole is attached. The main methods are:
- Cemented: the lasted upper is roughed, coated with adhesive, activated and pressed onto the sole. It's quick, light and flexible, and is the most common method worldwide.
- Blake stitched: the sole is stitched straight through the insole to the upper. The shoe is slim and flexible and can be resoled.
- Goodyear welted: a welt is stitched to the upper and insole rib, and the outsole is stitched to the welt. It's durable, water-resistant and can be resoled many times.
- Direct injection / vulcanised: the sole is moulded directly onto the upper. Common for work boots and some casual shoes.
Each method involves trade-offs between weight, flexibility, cost and repairability.
Steps 10–12: Finishing, quality control and packing
Finishing
Once the sole is on and the last is removed, the shoe is finished. Heels are attached and trimmed, sole edges are trimmed, sanded, inked and burnished, the sock liner (the visible inner lining) goes in, and the upper is cleaned, creamed, polished or sprayed. Laces are threaded and any loose threads are sealed. Finishing is what makes a shoe look "retail-ready".
Quality control checklist
Careful makers inspect every pair, not just a sample. A typical checklist includes:
- Both shoes of the pair match in size, colour, shade and grain.
- Stitching is straight, even and secure, with no skipped stitches or loose ends.
- The sole is fully bonded or stitched, with no gaps along the edge.
- The heel is straight, solid and level when the shoe stands on a flat surface.
- No glue marks, scratches or stains on the upper.
- The interior is smooth, with no protruding tacks, rough seams or wrinkled linings.
- Eyelets, buckles and hardware are firmly fixed and work properly.
- The size label matches the actual size, and the shoe sits correctly on a size-check last or gauge.
- Flex test: the shoe bends at the ball of the foot, not the arch.
Step 12: Packing and dispatch
Finished pairs are wrapped in tissue, stuffed or fitted with shape-keepers where needed, packed with a silica-gel sachet to protect against humidity (important in tropical climates), and boxed with correct size and style labels. For wholesale orders, boxes are packed into cartons by size ratio so a shop receives a sensible spread of sizes. Retailers and distributors can learn more through our wholesale and retail supply service.
Small-batch vs mass production
The steps above apply to almost every shoe, but how they're carried out changes a lot with scale.
| Factor | Small-batch / local | Mass production |
|---|---|---|
| Minimum order | Low; practical for boutiques and new brands | High, often thousands of pairs per style |
| Customisation | Colours, materials, sizes and details can be adjusted easily | Limited once tooling and runs are set |
| Lead time | Shorter; no long-haul shipping | Long production queues plus sea freight |
| Communication | Face to face, same time zone, samples viewed in person | Remote, often through agents |
| Unit cost | Higher per pair on some styles | Lower per pair at very high volumes |
| Stock risk | Lower; reorder what sells | Higher; large inventory committed upfront |
Why local manufacturing in Mauritius matters
Most footwear sold worldwide is made far from where it's worn. Local manufacturing gives Mauritian customers and businesses some real advantages:
- Shorter lead times. No waiting weeks for a container to arrive. Reorders, corrections and seasonal top-ups happen much faster.
- Customisation. Adjust a colour to match a corporate uniform, add a logo, change the sole for a slippery kitchen floor, or offer extended sizes. This is realistic when the workshop is close by. See our custom and bespoke footwear service.
- Designed for the climate. Local makers understand heat, humidity and island life, and choose breathable linings, suitable soles and sandal styles to match. Our article on the best sandals for a tropical climate goes into more detail.
- Aftercare. Repairs, adjustments and replacements are easier when the maker is on the same island.
- Local economy. Buying locally made shoes supports skilled jobs and craft knowledge in Mauritius.
Nylex has been designing, making and supplying footwear from Port Louis since 2019. Whether you want one well-made pair, a uniform programme for your staff or a private-label range for your shop, talk to our team. We'll explain the options, the materials and a realistic timeline for your project.
Frequently asked questions

Shoemakers and fitting specialists at our Port Louis workshop, sharing practical advice from years of making and fitting footwear in Mauritius.